The ideal kitchen is a masterpiece of continuity, where each part not only serves a valuable purpose, but appropriately matches the rest of the decor that you’ve chosen for your space.
If your current kitchen doesn’t quite fit that description, remodeling is the perfect time to make a few changes and create a kitchen with complementary pieces. This doesn’t just apply to the larger, more expensive appliances featured in your space, either. It’s tending to the finer details, too, that really gives a space a sense of seamlessness.
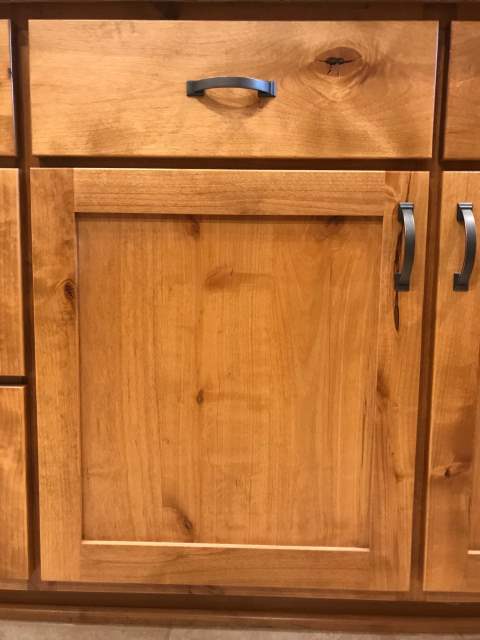
That includes kitchen cabinet drawer fronts, which, if done well, can effectively convey the cohesive aesthetic you always hoped your kitchen would have. They need to be functional, of course, but if you can utilize these drawer fronts to improve the overall design of your space, your remodel will be better because of it.
Our guide to the installation of cabinet drawer fronts walks you through the entire process. We’ll start with measuring the opening of your base cabinet with drawers and quickly move on to installing.
Measuring
If you’ve already measured your cabinet doors for a remodeling project, you’re in luck, because measuring for new drawer fronts is very similar to measuring for cabinet doors. Before you begin, make sure the drawers and area around are cleared of any obstructions to make measuring easier. Remove current drawer fronts from the existing cabinets, this will ensure accurate measurements.
Tools Needed:
- Tape Measure
- Pen/Pencil
- Paper (or print these instructions)
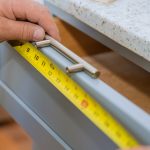
- For the width, place your measuring tape on one inside edge of the opening, and pull the measuring tape towards the opposite end of the cabinet opening. Once your tape reaches the other edge, make note of the measurement you see on the measuring tape.
- Enter your drawer opening width here [ ]
- Repeat step 1, but measure from top of the drawer opening to bottom of the drawer opening.
- Enter your drawer opening height here [ ]
- Once you have your drawer opening width and height measurements, add 1” to your width and your height. This will give you the measurement to include the overlay.
Quick Tip:
A 1/2″ overlay is the standard across the industry for cabinet doors and drawers.
- If you entered your opening cabinet measurements above:
- Your opening width and height are W x H
- Your cabinet drawer front size is [ ] x [ ]
Quick Tip:
If the drawer front size you need is smaller than the minimum, you have the option to select a Plank drawer front with an edge that will match your doors.

Installing
One note before we get into installing the drawer fronts, when screwing together the fronts and the drawer boxes, make sure you drill into the frame, this is especially true if you have selected an inset style drawer front.
IMPORTANT! Drilling into the frame will provide the most stability for your cabinet drawer fronts and boxes, giving you the best opportunity to have reliable cabinet drawers for years to come. Opting to drill elsewhere may result in a less sturdy finished product, which will almost certainly be problematic in the future.
- Measure the gap from the top of the drawer box to the top of the drawer opening and make a note.
- Add the desired overlay from your measurements above.
- Place the drawer front face down on a blanket or towel.
- With a pencil, mark the measurement from your total above on both sides of the drawer front.
- Remove the drawer box from the cabinet base and place on top of the drawer front.
- Align the drawer box with the pencil marks and ensure it is centered left to right.
- Using a drill attach the drawer box to the drawer front.
And there you go! You have successfully measured, ordered, and installed drawer fronts. If you need any assistance please do not hesitate to call, our customer service team is ready to help!
If you need any assistance on how to measure from cabinet doors, take a look at this post.


